
This post is a continuation of the Milton Player Piano Series.
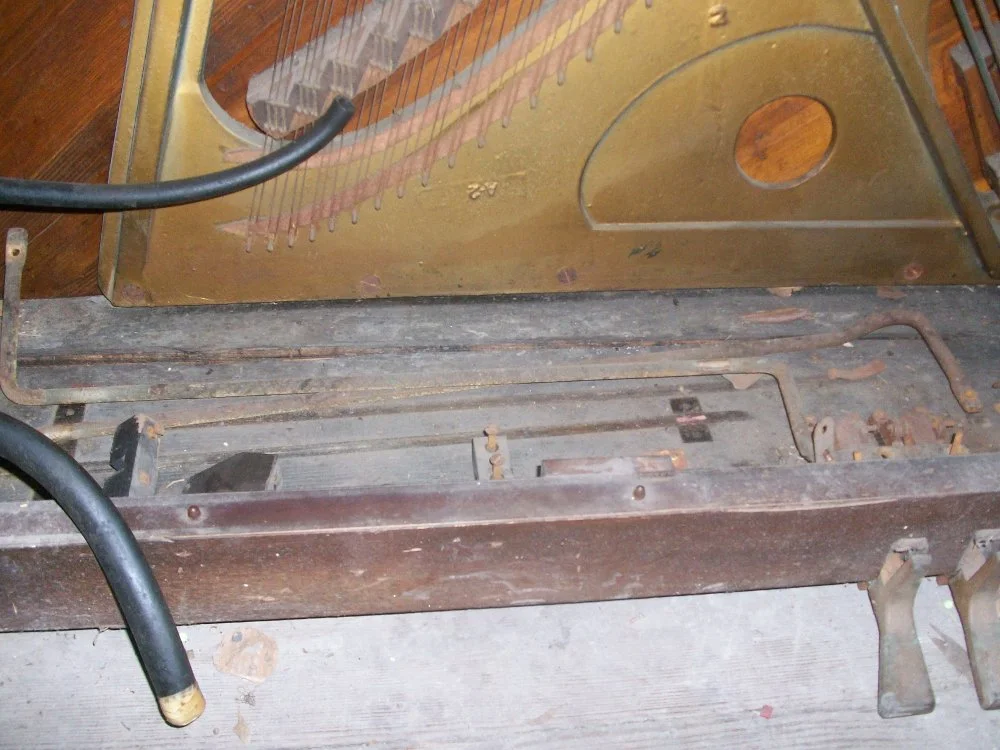
This time, I'll be repairing the skid board, which is the plank that makes up the bottom of the piano. The pedals, pedal rods, and blocks that the bellows mount to are all attached to the skid board.
As you can see in the next few pictures, there are several large cracks running the length of the skid board. This has caused the skid board to sag, which in turn prevents the pedals from working properly. Also, most of the screw holes in the skid board are stripped out. This prevents the pedal components from being firmly attached.


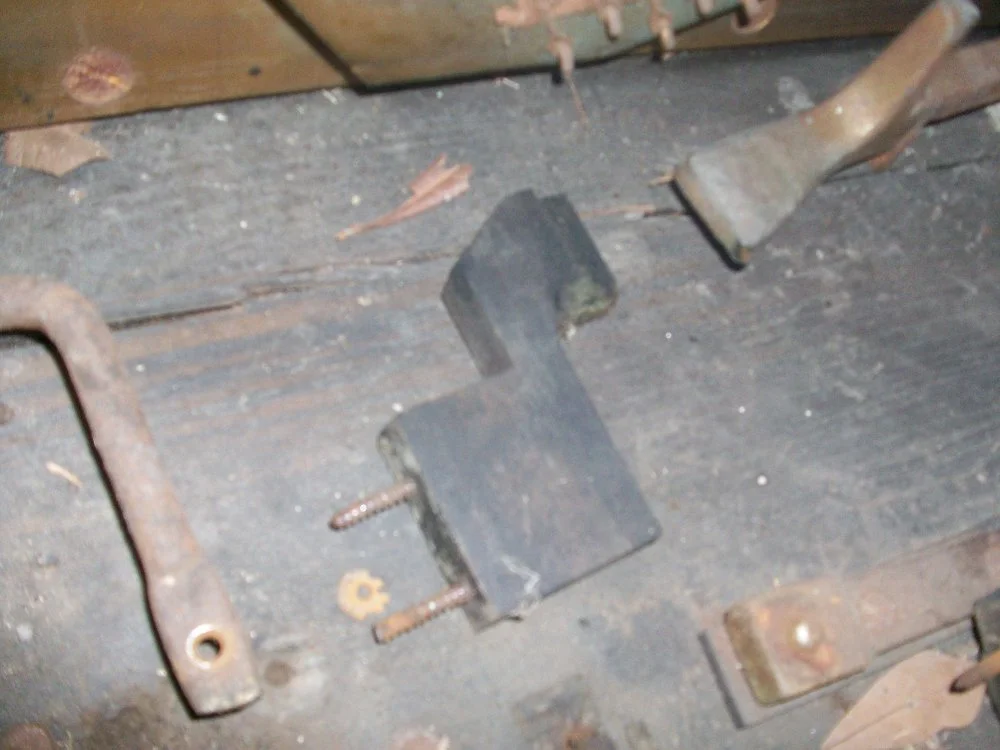
Before repairing the skid board, I remove all of the hardware that is attached to it. There are a lot of pieces to keep track of here, so I number the bottom of each piece I remove, as well as draw a simple diagram to help with the reassembly later.


In order to make gluing and clamping the skid board easier, I use my Roll-Or-Kari Piano Moving Handtrucks to easily lift the piano an extra few inches off the ground.

The next step in repairing the cracks is to spread them slightly by tapping in a couple of wedges. This will make it easier to get the glue all the way through. Once the crack is opened up, I brush in some Titebond II, trying to get it all the way to the bottom of it along its whole length.
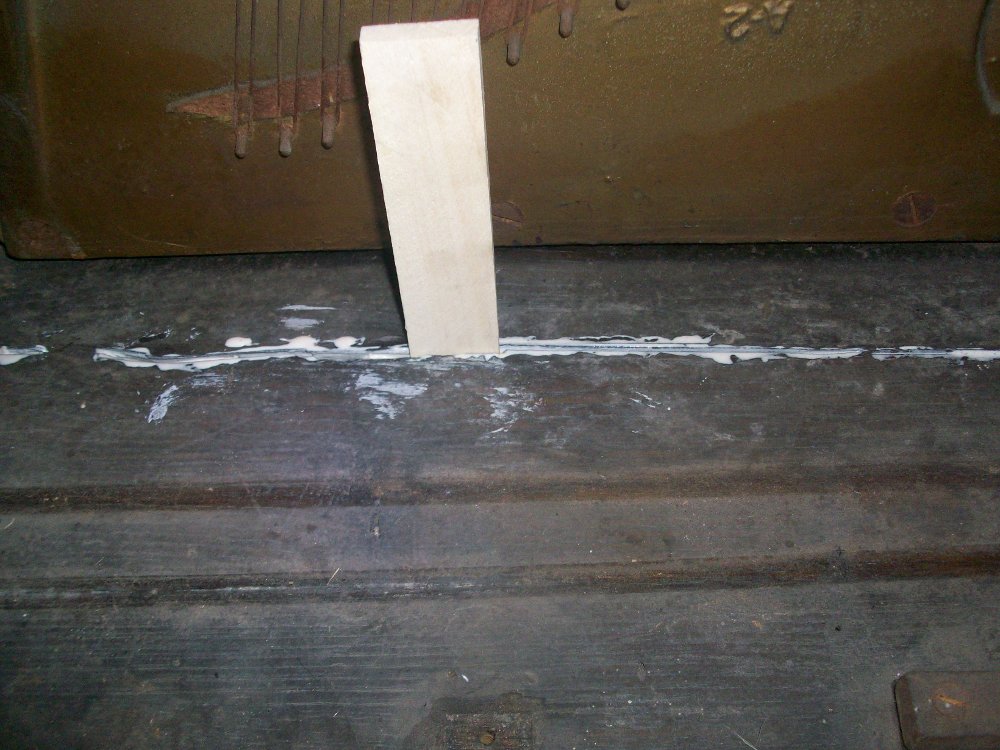
To clamp the skid board, I use these 3/4" threaded pipe clamps along the underside of the piano. After clamping, wipe off any excess glue with a damp rag. Allow this to dry for 24 hours.


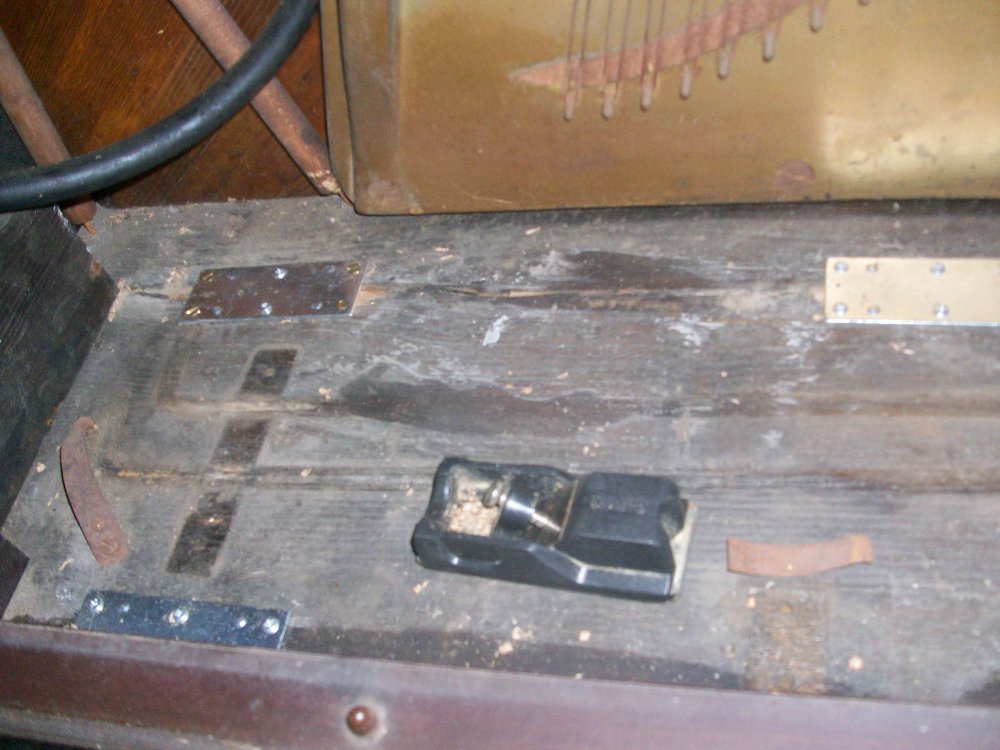
After the glue has dried, I attach these mending plates just for extra security against the crack re-opening in the future. Any irregularities in the top of the skid board can also be smoothed out with a small block plane.


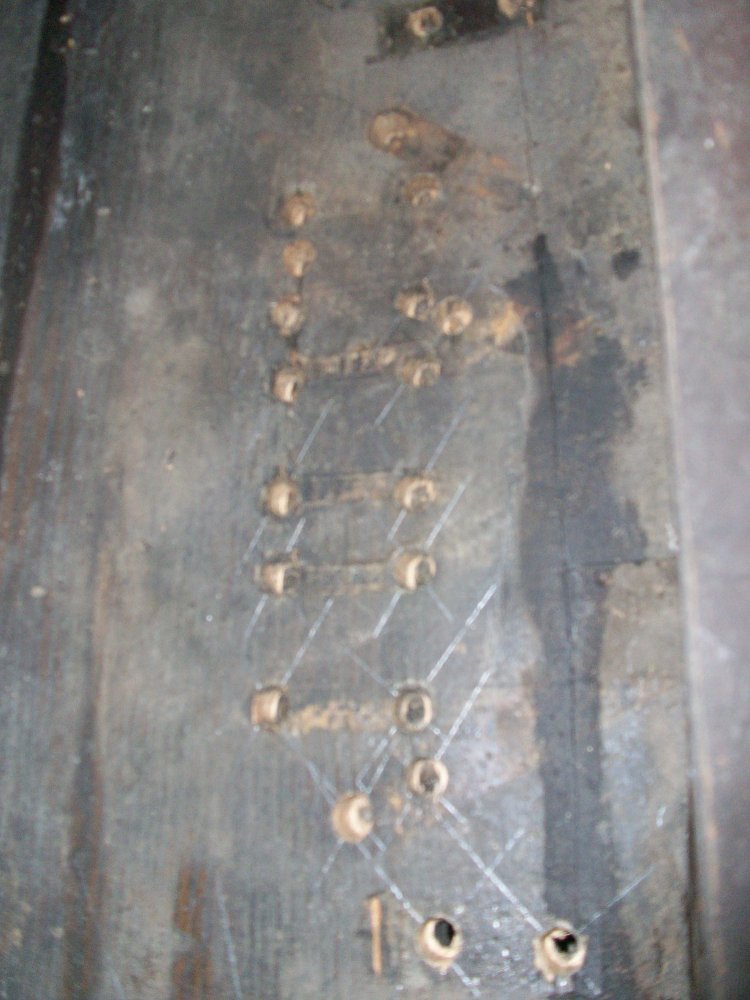
Now that the cracks have been repaired, I can move on to fixing the stripped screw holes. The first thing to do here is to draw a large x through the center of each hole to be repaired. This will assist in redrilling the holes in the exact same location later on.
After the X's have been drawn, I enlarge each hole with a 3/8" Forstner bit to about a centimeter deep. I then proceed to glue a 3/8" plug into each hole, making sure to align the grain of the plug with the grain of the skid board.
This repair must be performed using plugs, not with dowel pins as the grain of a dowel pin runs the wrong direction.
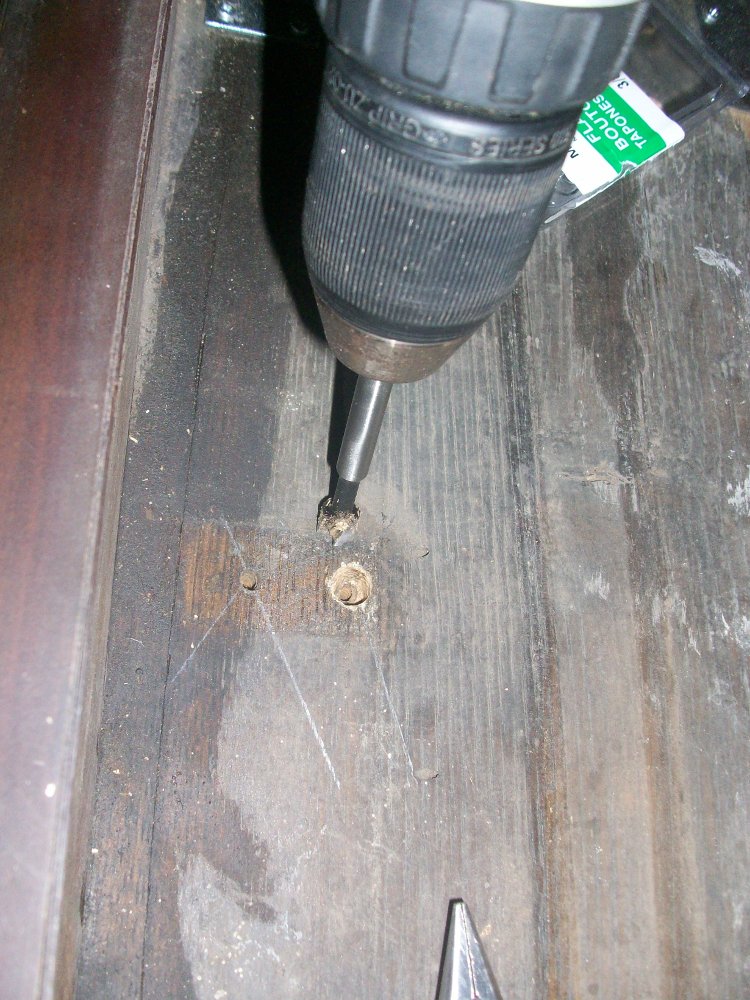


Once the glue has dried on these plugs, the last steps are to extend the X's that I drew previously onto the plugs, make a dent precisely in the center with a sharpened punch, and predrill each hole with a bit that is the same size or slightly larger than the shaft of the corresponding screw.
After each plug has been predrilled, the pedals and pedal hardware can be reinstalled.


Recent Blog Posts


I have been servicing and tuning pianos in NOLA since 2012 after first becoming interested in piano technology in 2009. With a background in teaching bicycle mechanics, I bring a methodical mindset and a love of sharing knowledge and skills to the rich musical culture of New Orleans.