

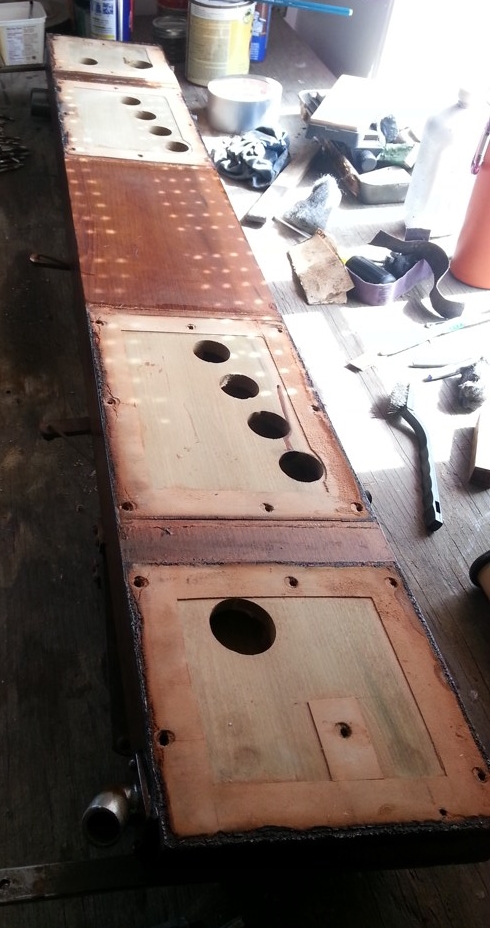
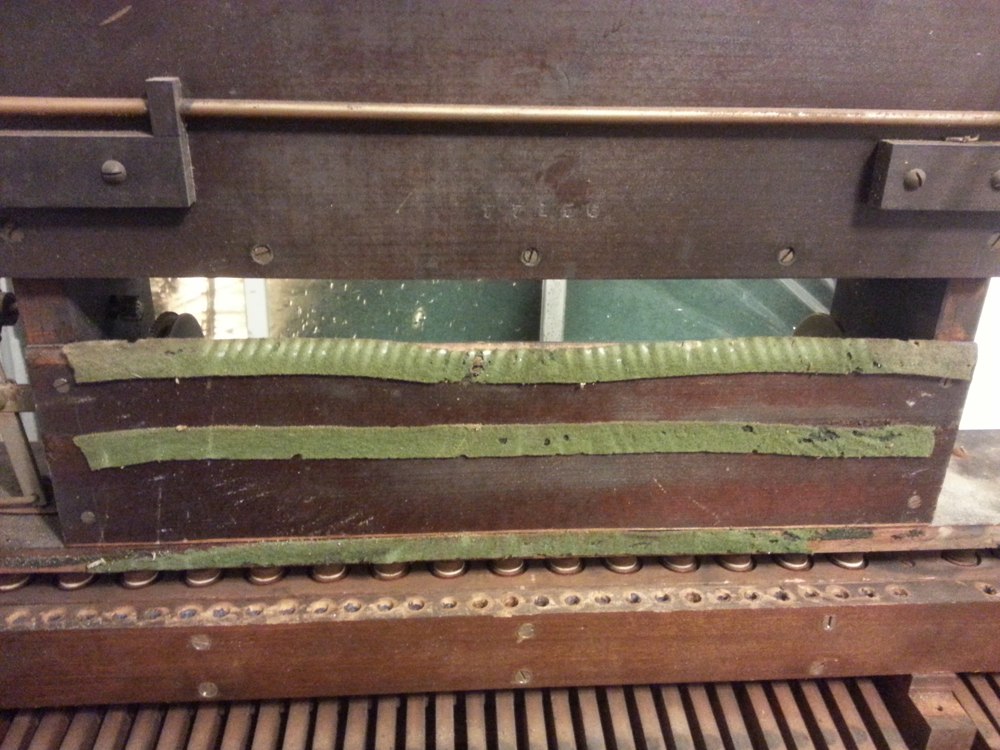
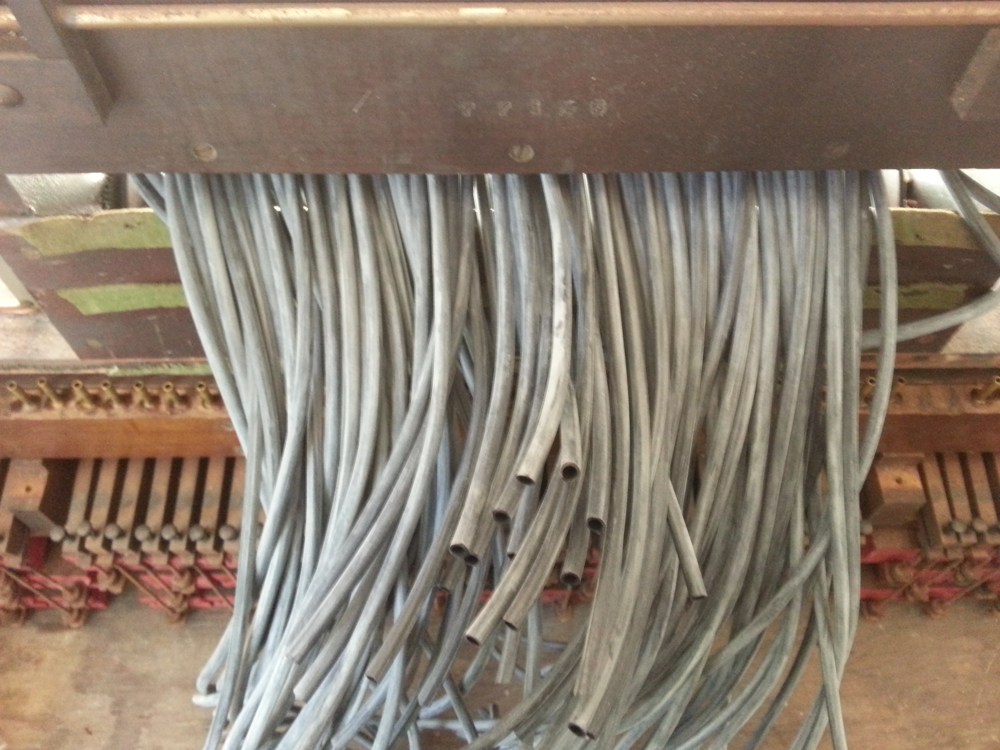
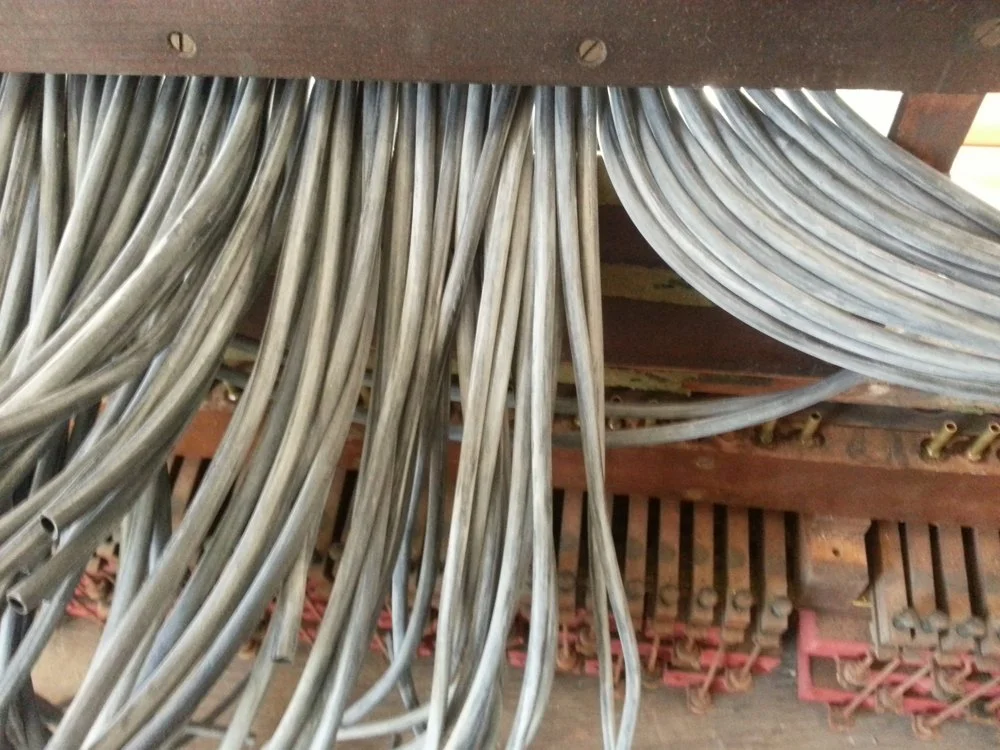
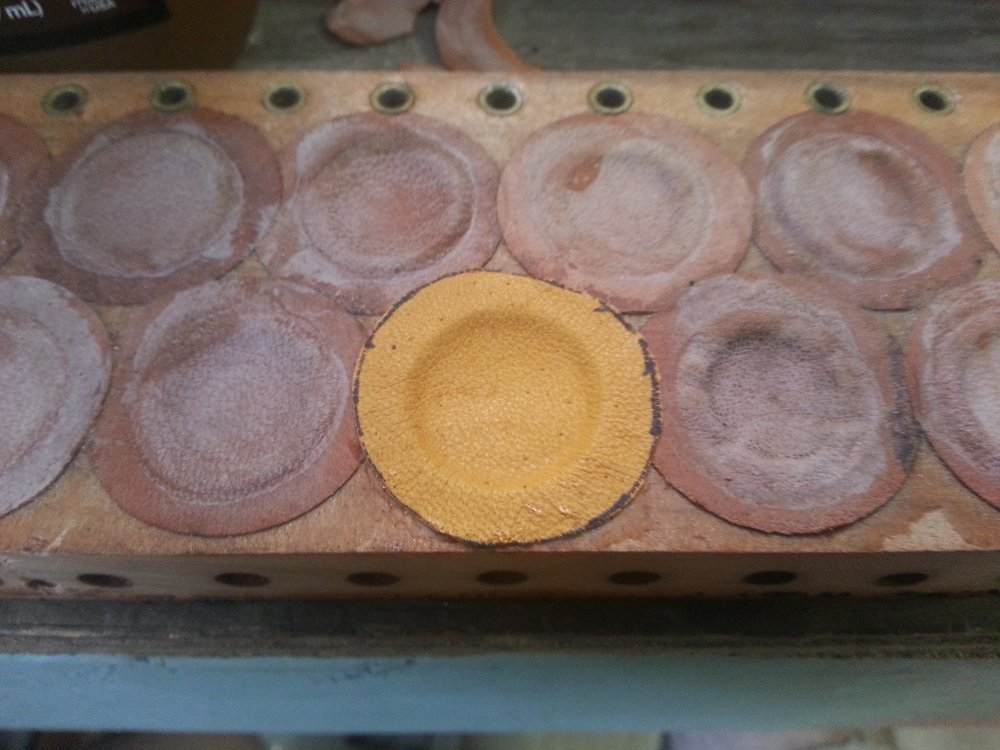
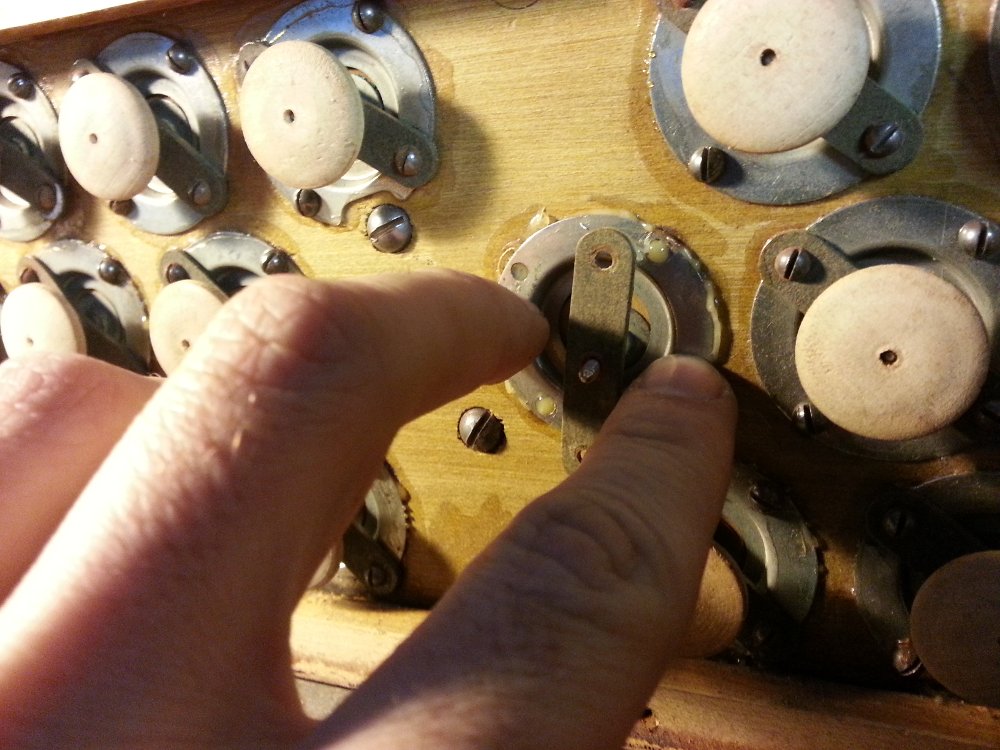
Some worn out and leaky leather gaskets.
This post is part of the Milton Player Piano Series.
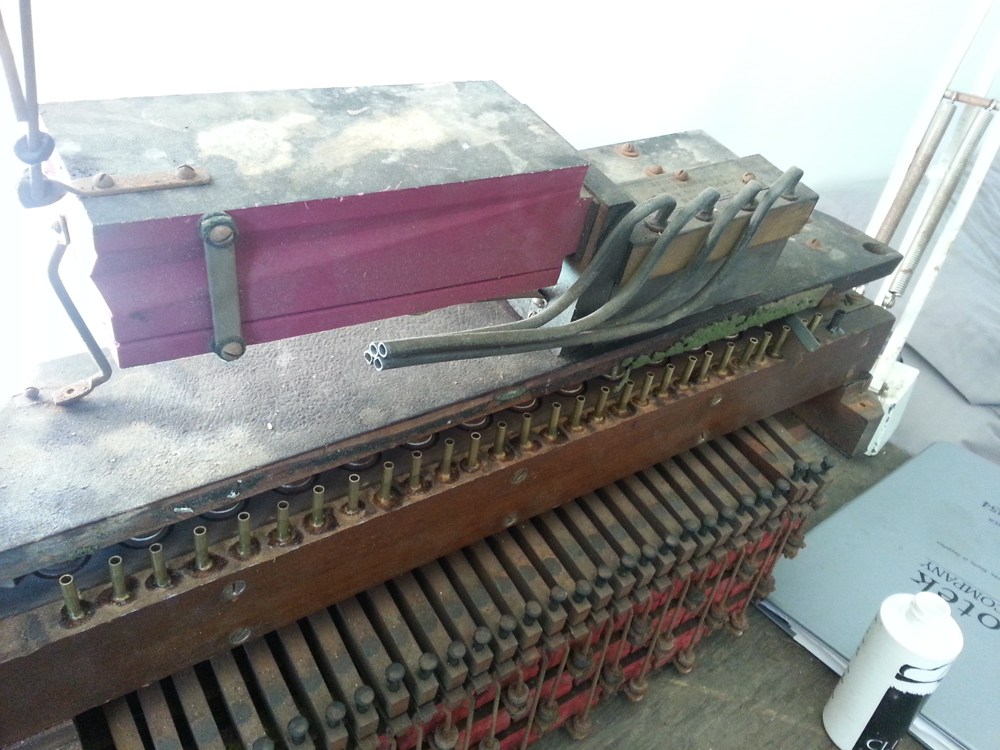
When dealing with an underperforming player piano, one of the likely culprits is worn out leather gaskets. There can be dozens of these types of gaskets inside of a player piano action and a small leak in each of them can accumulate to the point where the person pumping the pedals has to pump unreasonably hard or fast in order to compensate. When taking apart the player action and bellows, look for leather gaskets with large cracks, missing pieces, and black edges. These are the gaskets that need to be replaced. Also, you might as well replace any other old gaskets that you come across while you have the system disassembled.
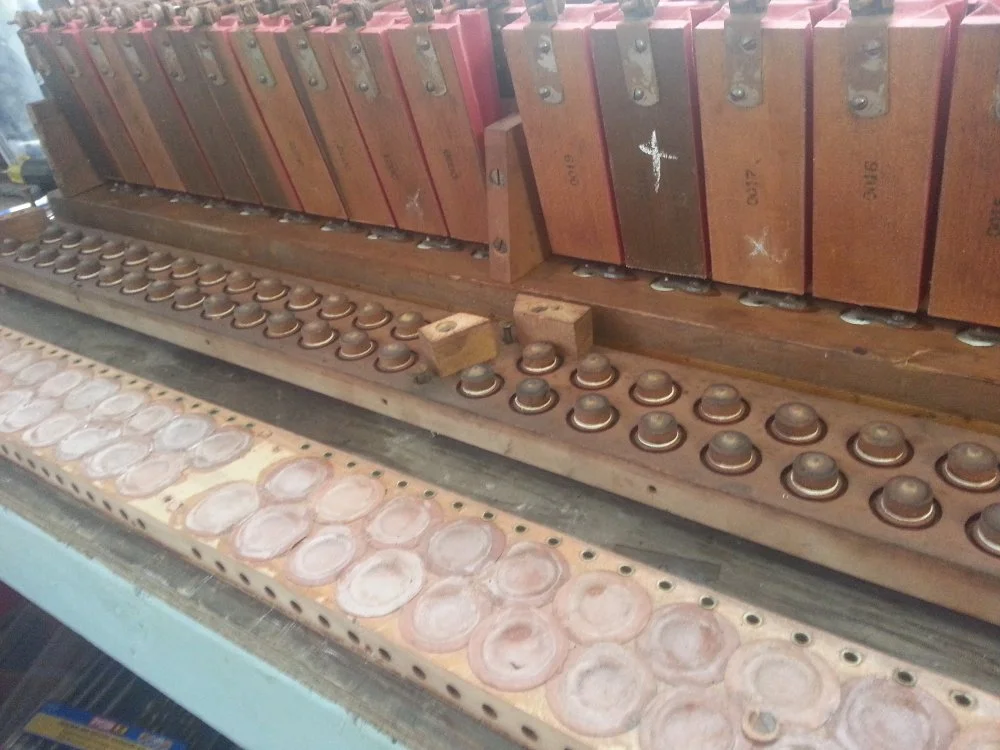
Note the cracks in the leather and the black, burnt-looking edges.
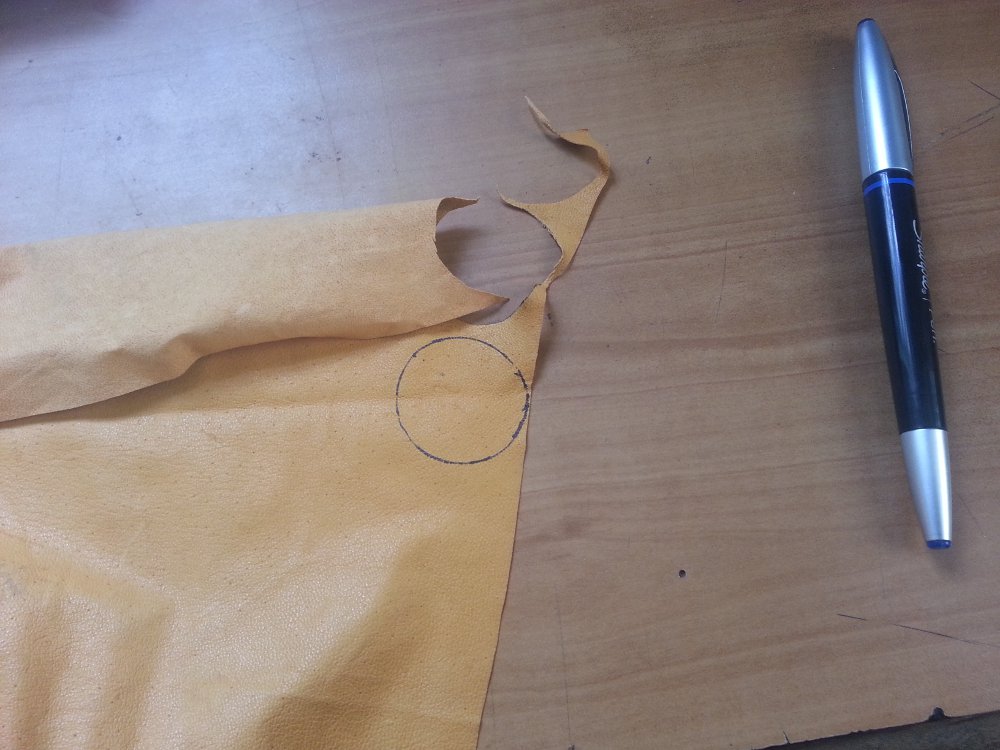
There are a few different materials that can be used to make these gaskets. The best material to use is a fine quality suede calf skin leather, however most hobbyists wont have access to leather that has a consistent enough thickness and compressibility for this job. It is much easier to find and use sheets of neoprene to make new gaskets. Cork is also available, which is more durable than neoprene and easier to shape, but offers less compressibility. For this job, I will be using neoprene from http://www.player-care.com/gaskets.html

A roll of neoprene gasket material.
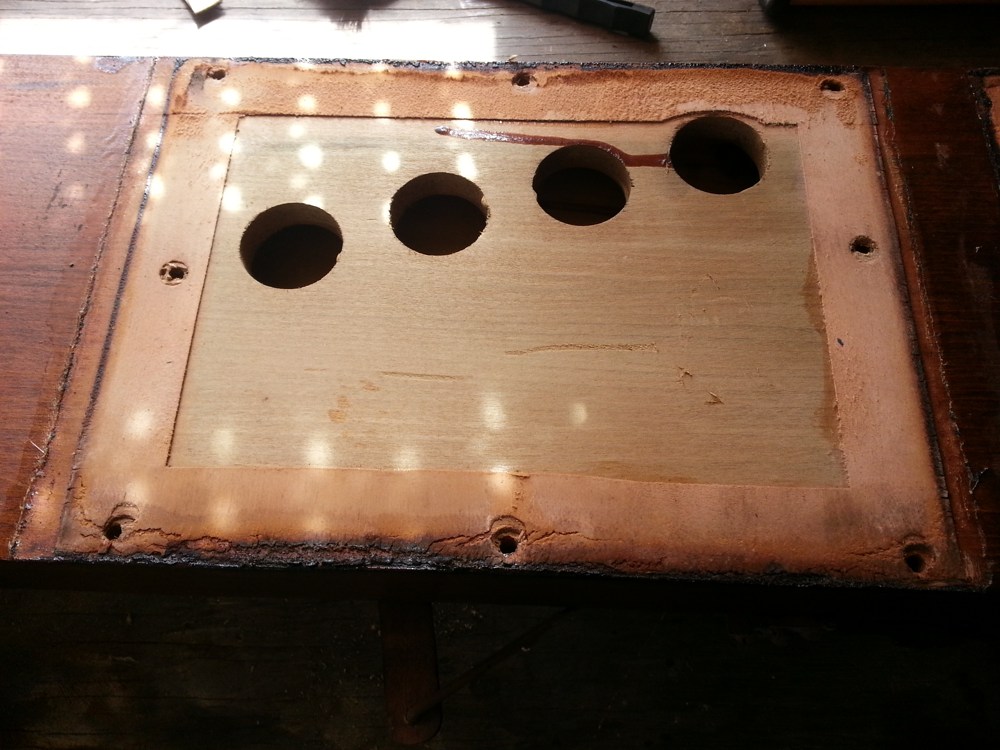
Once you have separated the two gasketed pieces, mark the outside edges of the old gasket with an awl, and proceed to scrape the leather gasket off of the board. I use a razor blade to remove the majority of the leather without damaging the wood. Next, sand any remaining leather or glue residue with a sanding block until you are left with bare wood. Gently vacuum any wood or leather dust out of the chambers of the bellows or player action.

After scraping with a razor blade.

Smooth the board out with a sanding block.
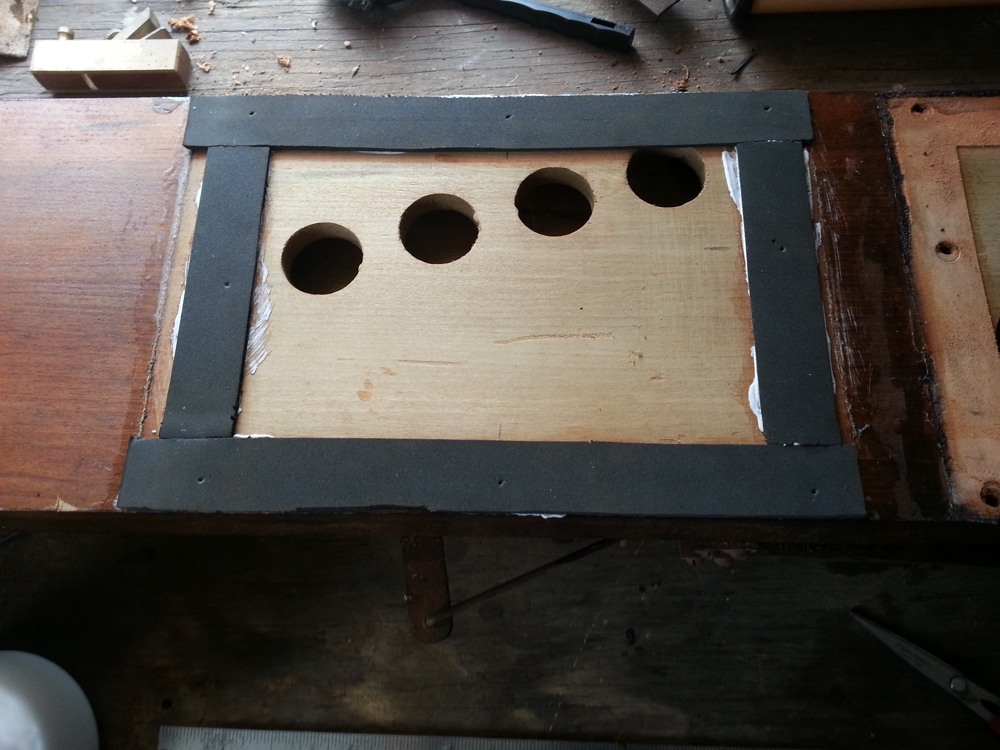
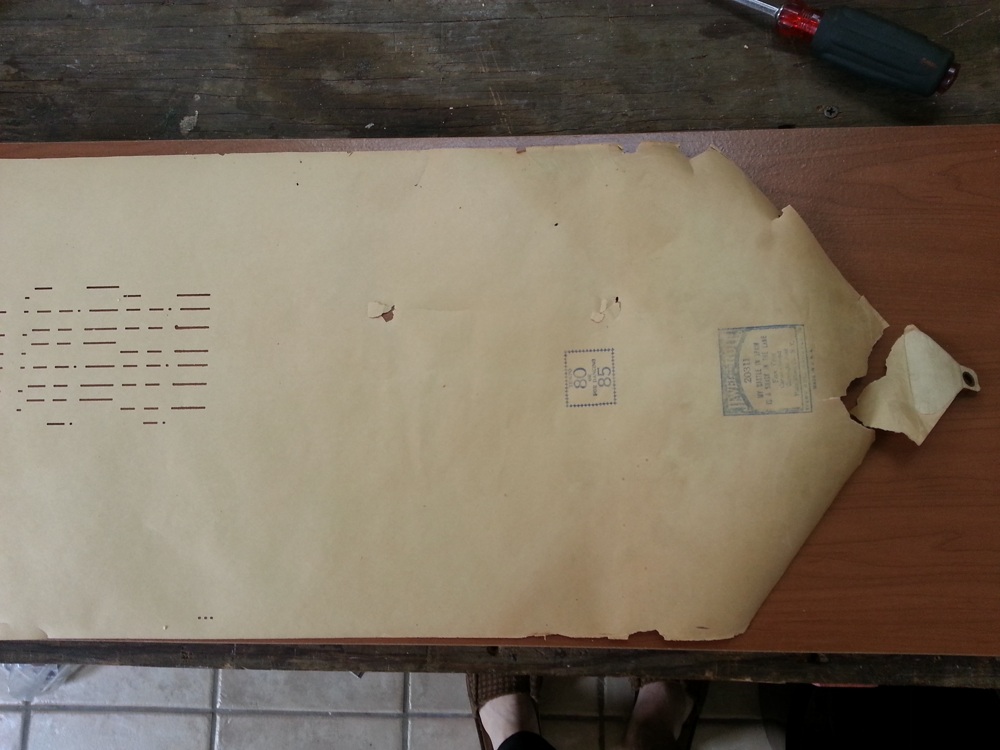
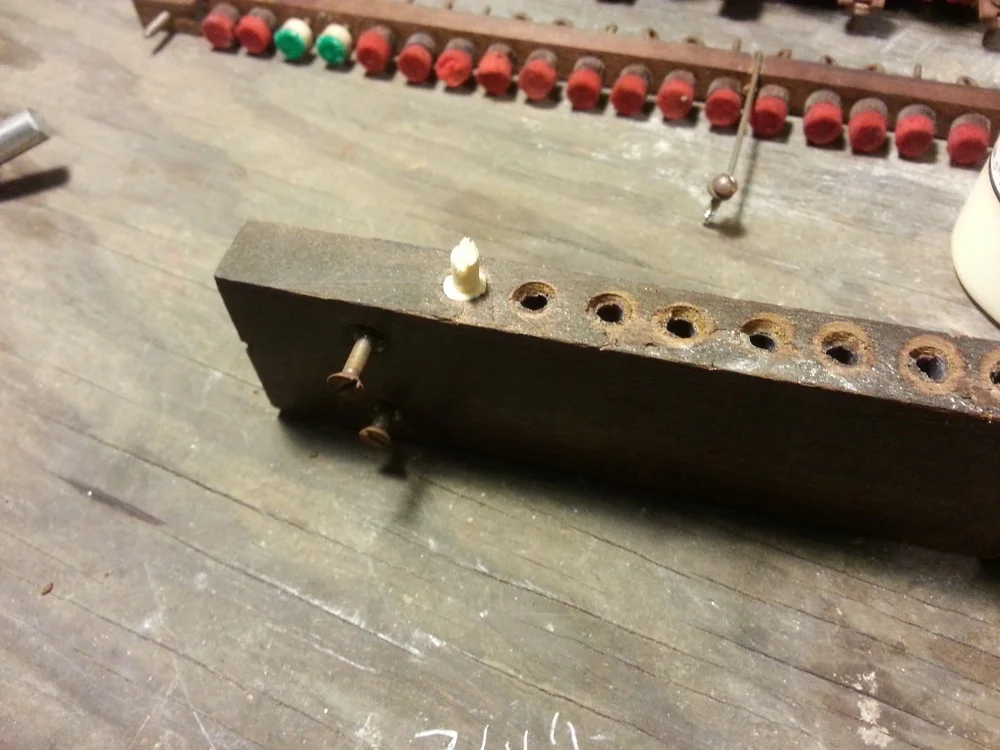
Cut four strips of neoprene so that they make a neat rectangle where the old gasket used to be. They must fit tightly together and not allow any air to leak through the seams. The compression of the neoprene will help with this a bit, but try not to rely on it. Make your gasket as tight fitting as you possibly can. Make small pencil marks on the board wherever there is a screw hole, so that you will know where to punch holes in your gasket later.

Make sure that the smoother edge is the one that will be in contact with the rest of the gasket.

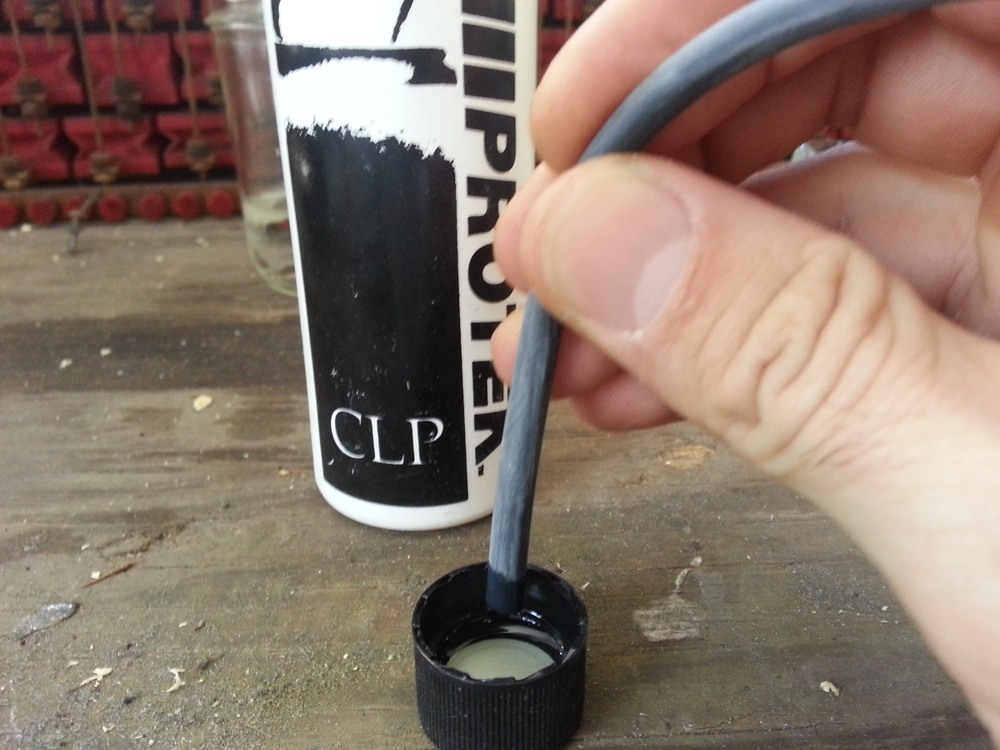
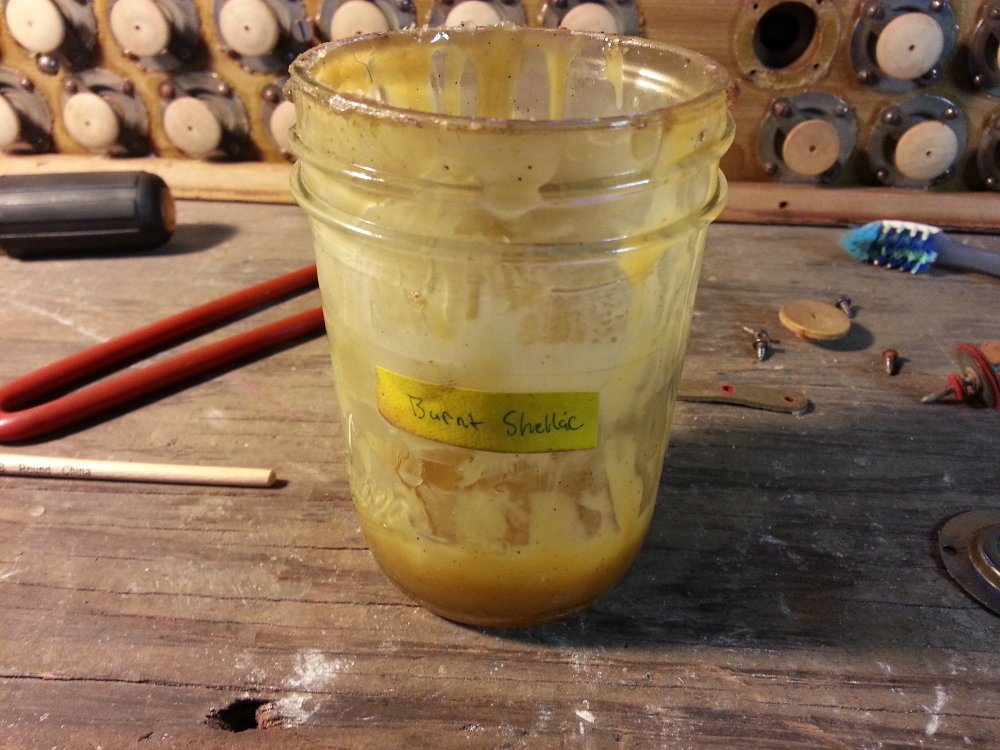
Applying PVC-E glue to the gasket.
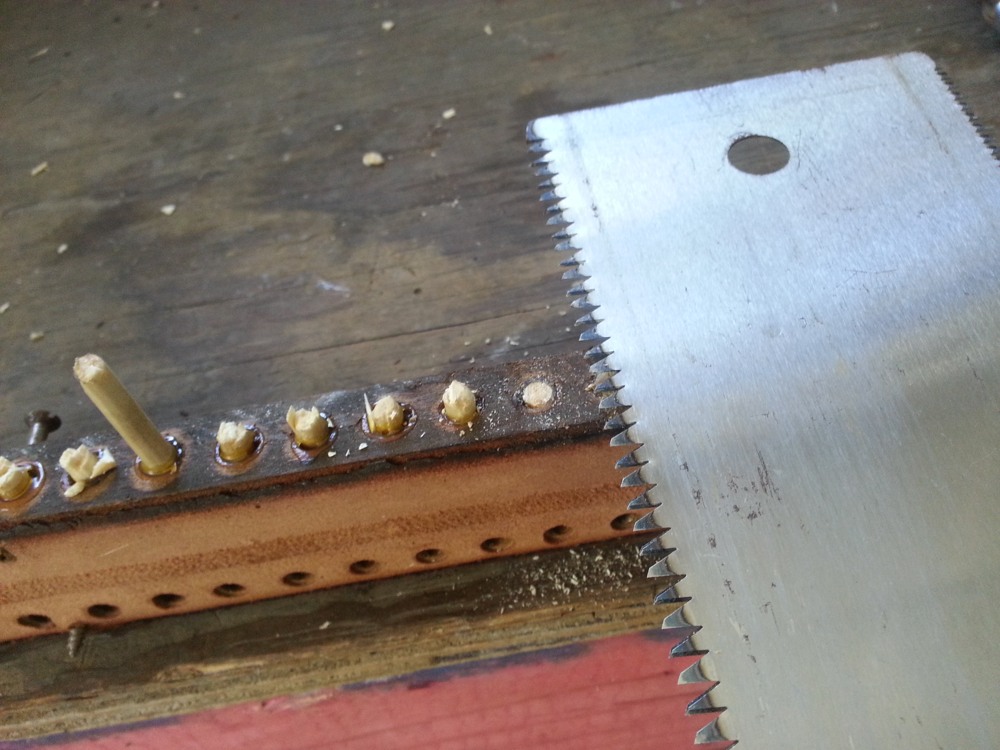
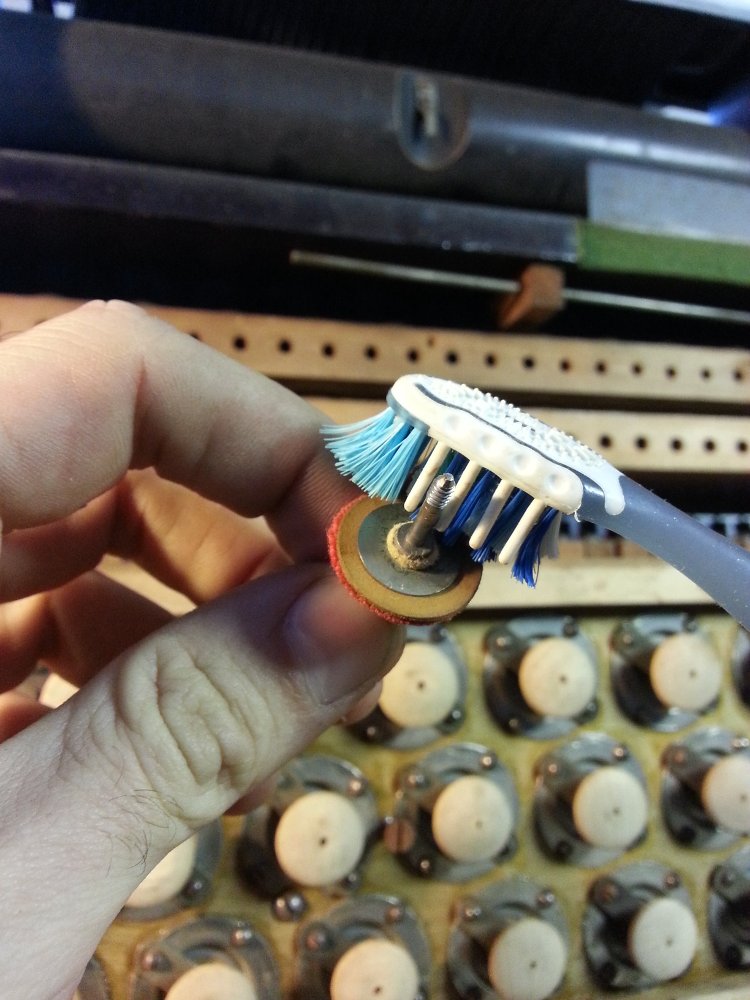
Once your pieces of neoprene are cut, apply PVC-E glue to the bottoms of them and press them into place on the board. After the glue has dried, do any trimming you need to do with a razor blade, and punch out the screw holes with whatever small metal tube you have around. I used the back end of a small brush.
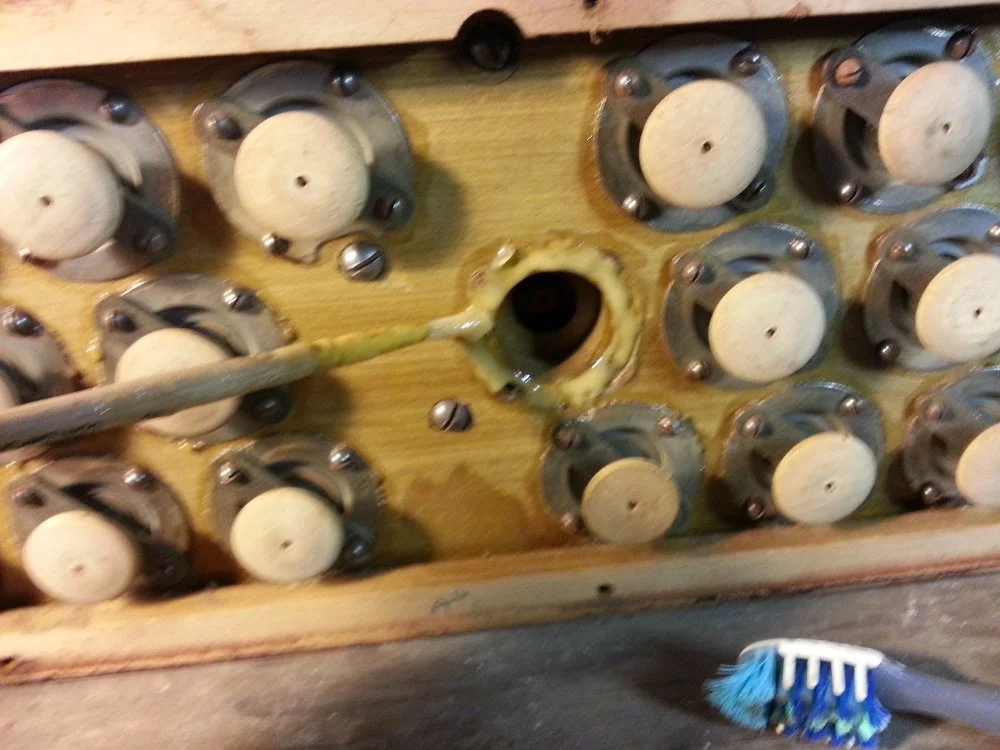
Note the pencil marks on the wood that indicate the location of the screw holes.

The ends of the top and bottom pieces of the gasket have been trimmed flush.

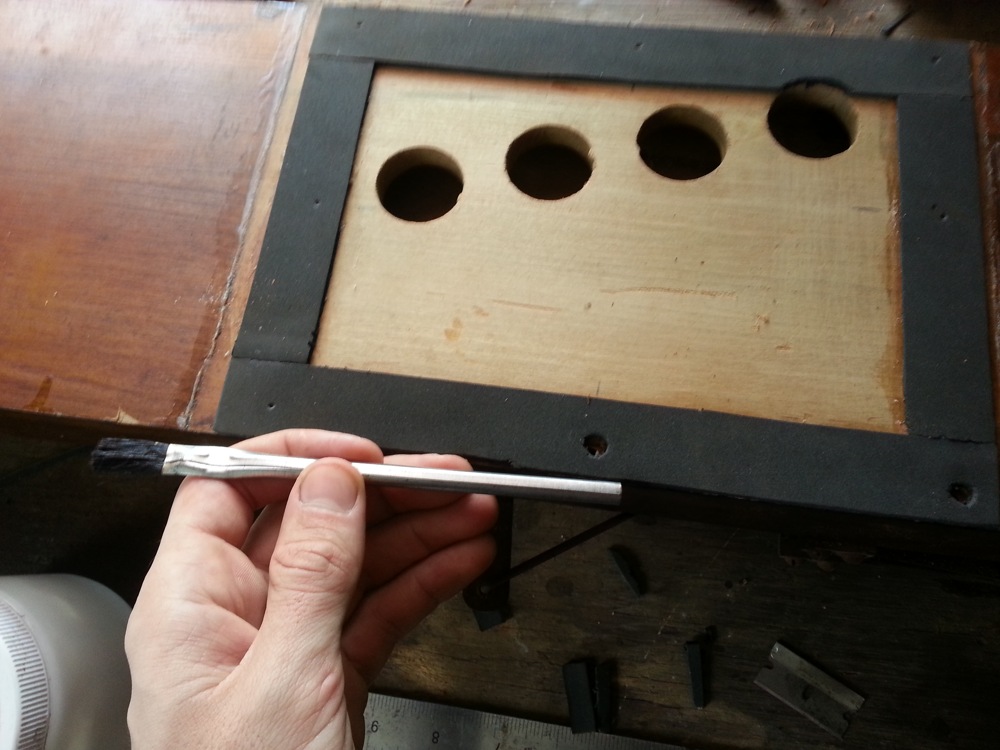
Cutting out the screw holes with the back end of a brush.
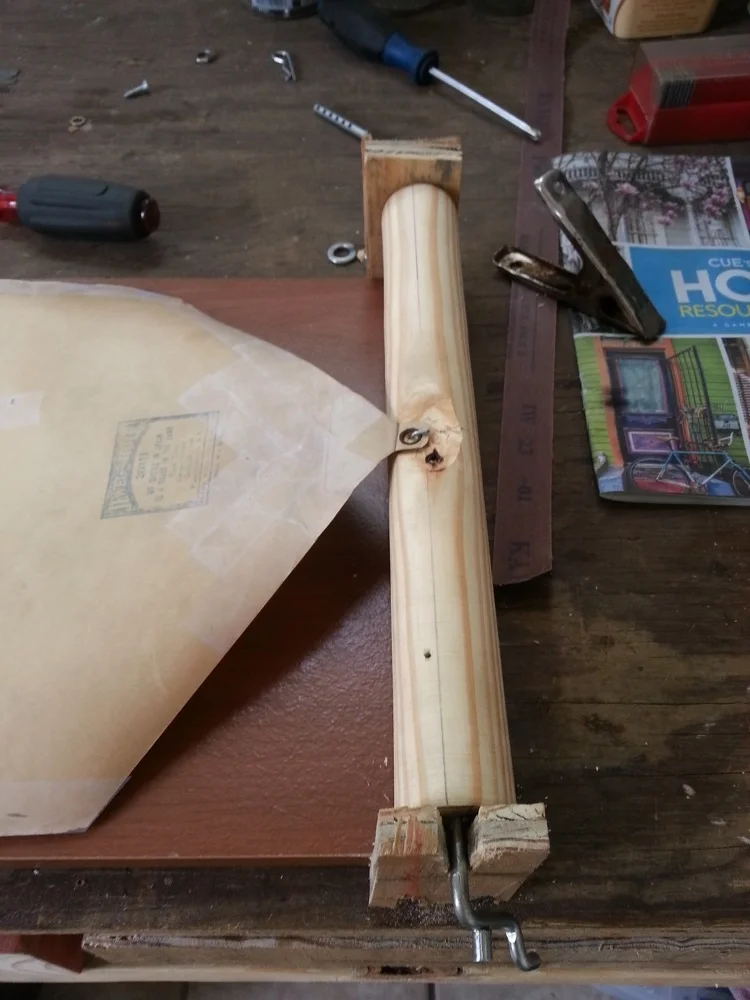
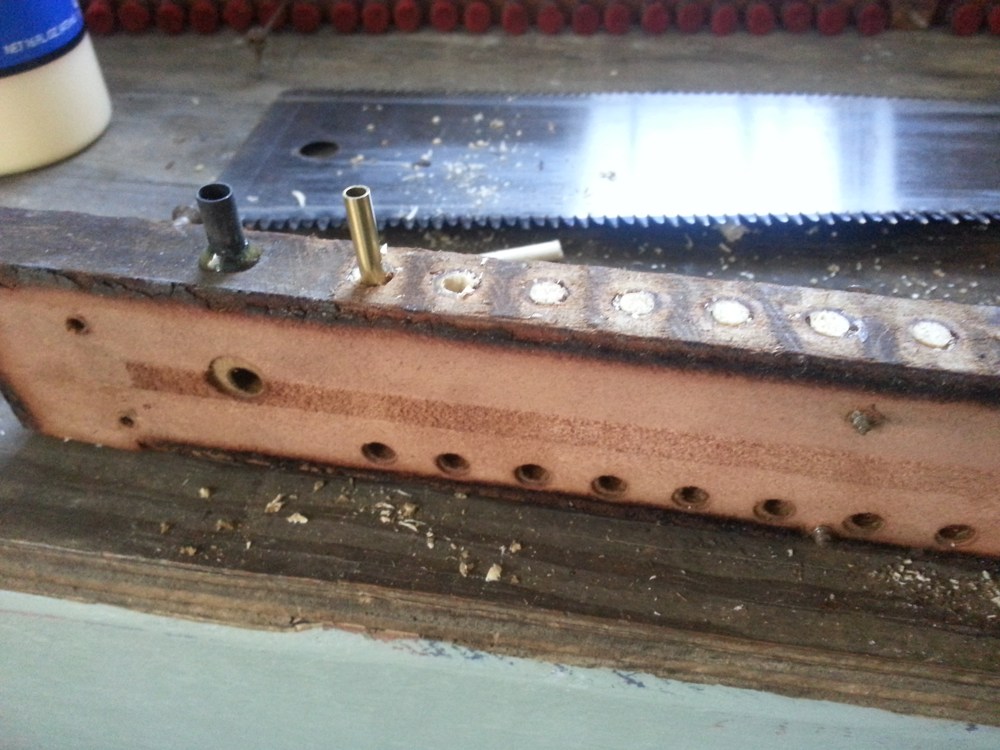
Push the screws through the board to clean out any glue residue, screw the two boards together, and test out the gasket by listening for any air leaks while the bellows are being worked (or by attaching to a vacuum pump).

Ready to reassemble.

Testing the gasket by taping over the other holes in the board.
Recent Blog Posts


I have been servicing and tuning pianos in NOLA since 2012 after first becoming interested in piano technology in 2009. With a background in teaching bicycle mechanics, I bring a methodical mindset and a love of sharing knowledge and skills to the rich musical culture of New Orleans.